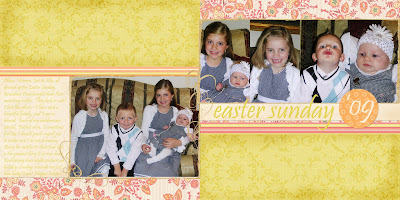
I've said it before, and I'll say it again: I LOVE digital scrapbooking! Seriously. When I think about it, I sometimes do a little happy dance. But enough gushing. Here are the layouts that I finished this weekend: (I'm still working on my overall design, and some I like better than others...)
 Yes, that really was the first day of school picture for Victoria (she was tired of me taking photos!)
 Turning 3 was the last assignment in my Now We're Rockin' Class
 Then & Now was Assignment 2 from my Digi: In Deep Class


Backwards Birthday was my first assignment in Digi: In Deep
(**Don't forget to download the new template in the post below. And since I've posted it, I thought of a few things to mention: Any layer with a "+" sign is one that should be used as a clipping mask. I used a gray color for my title, but you should change it to whatever color works for your layout. And now I'm drawing a blank...hopefully that was everything I wanted to tell you...)


